Simple Upcycled Star Ornament
- Allison Baker
- Dec 18, 2024
- 2 min read
Updated: Jan 1

Learn how to sew this upcycled star ornament in an afternoon!
This project started with an office clean out and discovering that there were a few uniforms that had to be destroyed, luckily my scissors swooped in to the rescue! I thought it would be cute to gift the work uniform back to my coworkers somehow and decided ornaments were the way to go! This would be a perfect small gift that you can make in bulk for all your friends and family. The best part is you can use up your fabric scraps!
Supplies needed
5-6" Fabric scraps or about the size of an adult hand
Embroidery thread/needle
Hanging ribbon/string
Stuffing (good ol fabric scraps)
Sewing machine/ or hand sewing
Chopstick, for shaping
Embellishments like beads, sequins, buttons etc (optional)

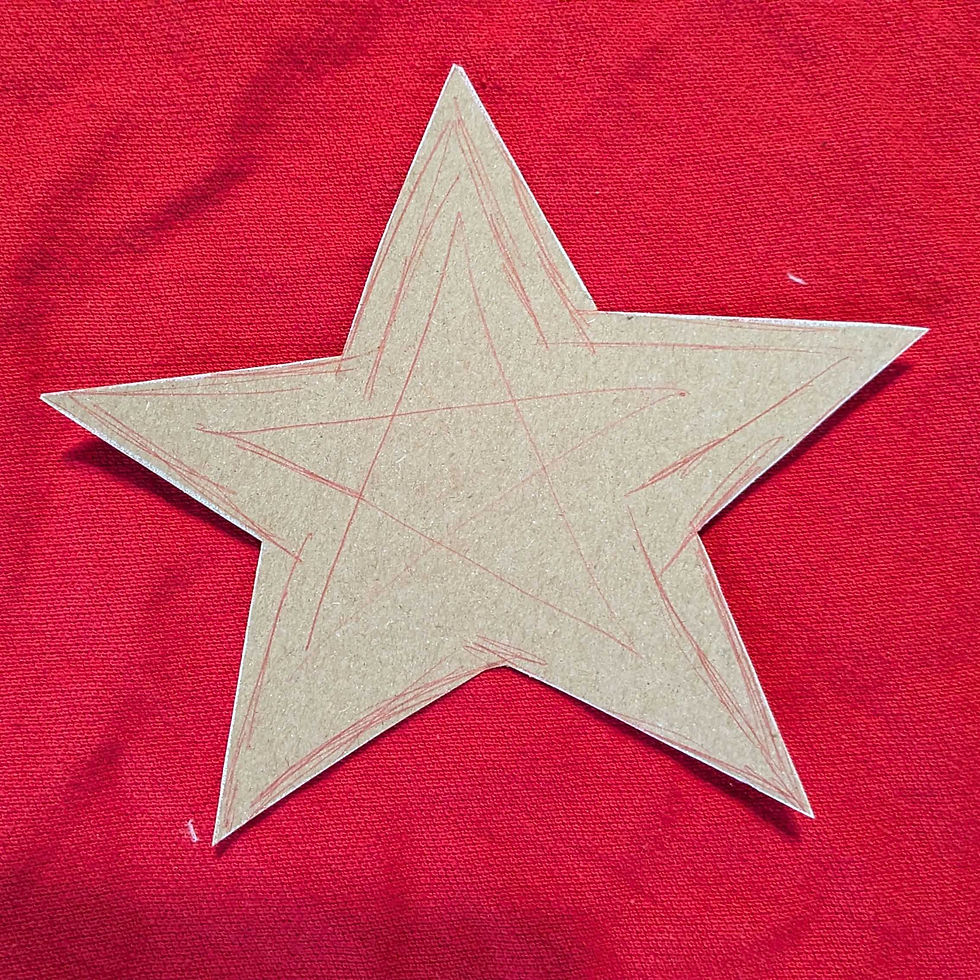
Start by making a star template, or free hand drawing a star shape on your fabric and cut 2 out for each ornament you're making.

Start embroidering! This is the fun part where you can make the design as simple or complicated as you like, both look beautiful! I'm a bit lazy and don't use a hoop, and just free hand. I try to keep a steady tension by holding the fabric taught or stretching out too tight stitches. My tension is looser than it should be if I had used a hoop properly! My fabric is also knit and not stabilized, which most embroiderers would suggest to avoid distortions.
If you have embellishments add them after your embroidery is finished.
Tie your hanging string or ribbon into a loop with a knot and sandwich it between the two stars. Since my fabric is knit, I chose to leave the edges exposed so the loop is facing right side out along with the fabrics. (If you want finished edges, you will need to have your fabrics wrong sides facing, with the ribbon knot at the edge and the loop in the middle of the star.)

Sew around 3/4 with a machine or by hand, leaving enough space to add stuffing. (If you have finished edges, you would turn the ornament right side out after this step.)
Stuff your ornament! I like to use fabric scraps for my ornaments, so they're really firm. Cut them down small and push into the points to get a good shape with a chopstick. Or use poly fill!
Once your ornament is a good shape and stuffed full, sew up the gap. (If you have finished edges you will need to do the invisible ladder stitch, by hand)
Give those raw edges a neat trim to even them up.
Ta da! Sit back and admire your beautiful handiwork!

I hope you have a very Merry Christmas, holiday season, and happy new year!


Comments